12 Steps To Selling Firearms Internationally —
From Your Store
Have you had to turn down a sale to a visitor to your store from another country who wants to buy a gun to take home? Or a potential online sale to someone from another country who wants you to ship the gun?
New U.S. export regulations went into effect in March. Now you can sell and ship sporting rifles, pistols and shotguns to customers who are citizens of other countries. There are no registration or license fees.
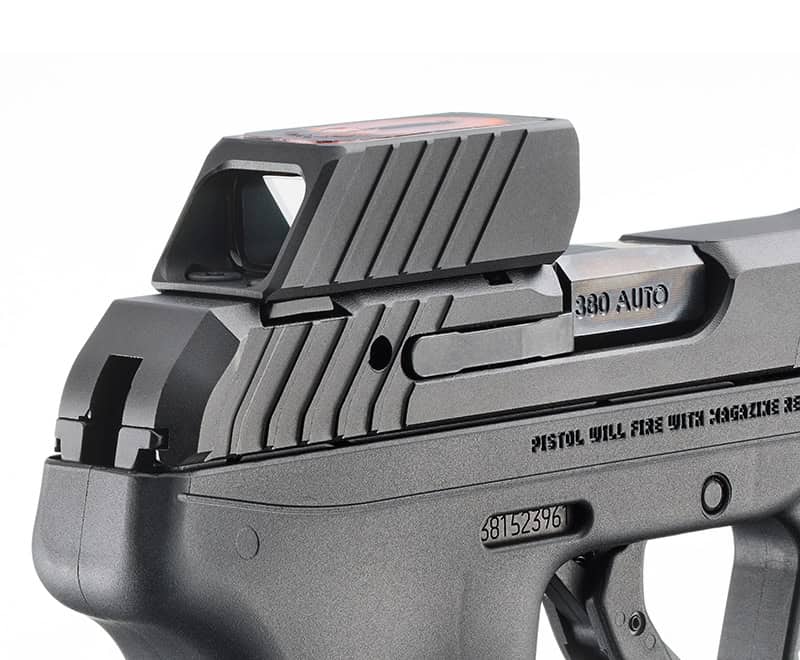
Follow these 12 steps to export most handguns, rifles and shotguns.
1. Over-The-Counter Sales Aren't Possible
Firstly, you’ll need to ship the gun.
ATF regulations permit FFLs to sell firearms over the counter to visitors from other countries only under limited circumstances. Those circumstances are outlined in the instructions for Question 26.d on Form 4473. Sales to visitors to the U.S. who simply want to buy a gun to take home are not among them.
Export regulations, however, not ATF regulations, govern exports. Shipping a gun to a recipient in another country is an export. Export regulations do allow you to ship the gun to the visitor’s foreign address, as long as you jump through the right hoops.
2. Know Your Customer
There’s no NICS check for export sales. Instead, you’re required to make sure the person you’re exporting to is not a sanctioned party prohibited from receiving exports. You also want to satisfy yourself there are no “red flags.”
Here’s how to do this.
First, obtain the person’s passport, check to make sure it looks genuine and hasn’t expired and make a copy of the photo and personal information pages for your records.
Second, chat with the customer. Try to confirm the customer is on the “up-and-up” and the firearm is legal in the customer’s country. Look for anything that doesn’t seem right. There are many possible red flags that should, if you spot them, cause you to decline to make the sale. One would be an evasive customer who doesn’t want to provide any information. Another would be a customer who knows very little about firearms, especially if he/she wants to buy more than one. The U.S. Commerce Department has posted a long list of other possible red flags. If you’re not comfortable with the buyer and the intended use of the gun, don’t complete the sale.
Next, visit the export.gov Consolidated Screening List to screen the person’s name. You can do this when you leave the room to photocopy the passport. Input the person’s name in the second block, turn “Fuzzy Name” on, leave the Address and Sources fields empty, and select the person’s country of residence and, if different, the country of citizenship (both countries of citizenship in the case of dual citizenship). Then click on Search. If you see “No result” to the left of the Search button, the name has been cleared. In the rare case where a name is returned after you click Search, you would be wise to decline the sale.
Use the “print screen” feature on your computer to keep a copy of your search, both the completed search and the “No result” that came back when you clicked Search. Keep the copy of the search with your copy of the person’s passport and the other records of the transaction (see below).
3. Obtain A Copy Of The Import Permit
You’ll need to obtain a copy of the customer’s import permit for the gun before you export it. If the customer is in your store, he/she most likely will need to return home, obtain the import permit and email a copy to you.
A dealer’s license or individual’s firearms permit in the home country is not an import permit. Import permits clearly state that they authorize imports and almost always specifically identify the firearm(s). If English is not an official language in the customer’s home country, request a translation together with a copy of the import permit in the original language.
Look at the import permit when you receive it. Does it look like an official government-issued document? Check the issuance and expiration dates to confirm that it is in effect. Make sure the name of the importer corresponds with the name on the passport you copied. (If the customer is a dealer, ask the customer to provide a copy of the dealer’s license. The name on the dealer’s license should correspond with the name on the import permit.)
4. Agree On Payment
It’s customary for exporters of firearms to be paid in full before they ship. Many take a 50% deposit with the order and collect the balance, plus shipping cost, before shipment.
It’s totally appropriate for you to pass the shipping cost on to your customer.
It’s also appropriate for you to collect a service charge to compensate you for the work you have to do to export the firearm. Anything in the range of $100-250 (on top of shipping) would be in line with what other exporters charge.
There’s a silver lining when you export a firearm: FET is not collected on export sales so you can keep that portion of your price.
Export regulations do allow you to ship the gun to the visitor’s foreign address, as long as you jump through the right hoops.
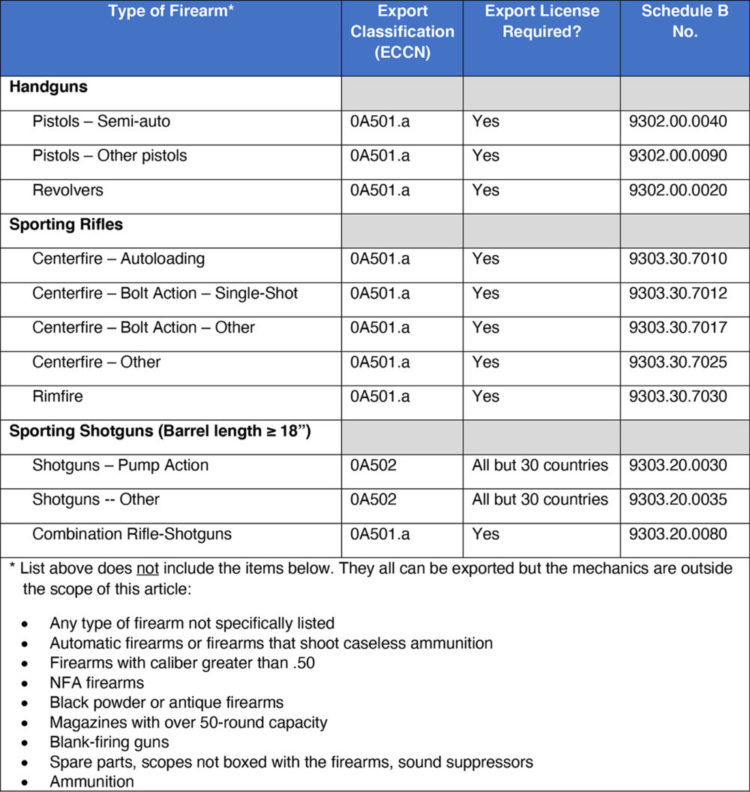
5. Determine Whether An Export License Is Required
You’ll need to obtain an export license from the Department of Commerce, Bureau of Industry and Security (BIS) if the gun is a rifle, handgun or combination gun. Shotguns with barrel lengths of 18″ or more can be shipped to 30 countries without a license. You can find a list of the 30 countries at the end of this blog post. Note: Canada is not one of the 30 countries.
You can use the following table to determine whether an export license is required for the firearms specifically listed in the table. The table also includes information you will need for the export license (if required), AES filing and shipping labels (see below):
6. Obtain An Export License (If Required)
Export licenses authorize a specific transaction or group of transactions between one exporter and one purchaser. If you do multiple exports that require licenses, you’ll need separate licenses for each customer. If the table above says a license is required, this is how to go about obtaining one.
Start by registering with SNAP-R, the portal for submitting export license applications to BIS. Registration is free. Just follow the instructions here.
After your registration is complete, log in to your SNAP-R account. Login will take you to a screen that says “Welcome to SNAP-R.” In the menu on the left side, click on “Create Work Item.”
At the “Create Work Item” screen, make sure that the dropdown menu says, “Export License Application.” Then insert a reference number you want to use for this license and click Create. That takes you to the license application. Instructions are embedded in the form, but you might want to watch this excellent 7-minute BIS training video for guidance on completing and submitting your export license.
You’ll be notified of the approval of your export license by email. Allow up to 30 days, but it’s unlikely to take that long.
If you have questions, the answer is probably found at SNAP-R Online Help for Exporters. (If no answer is found, there’s a phone number for the SNAP-R Help Desk on that page. Additional BIS user resources are located at the BIS Home Page.)
7. Pack With Shipping Documents
After the export license has been approved (or in the case of shotguns that don’t require an export license) the next step is to pack the box. When packing, be sure to pack the correct item. Don’t include extra parts, magazines or optics. You’re required to include certain documents when shipping firearms internationally. Additional instructions are available here.
8. AES Filing
If you use USPS or another courier service to ship your gun (as opposed to a commercial freight forwarder), you’ll need to submit an AES filing prior to shipment and receive an Internal Transaction Number (ITN).
Create a free ACE Exporter Account first. Do that here. After you obtain your account ID and password, click here and follow the instructions to obtain an ITN.
Additional information on submitting AES filings can be found here. A user guide with easy step-by-step instructions can be found here.
If you use a commercial freight forwarder to ship (see below), confirm the freight forwarder will complete the AES filing on your behalf.
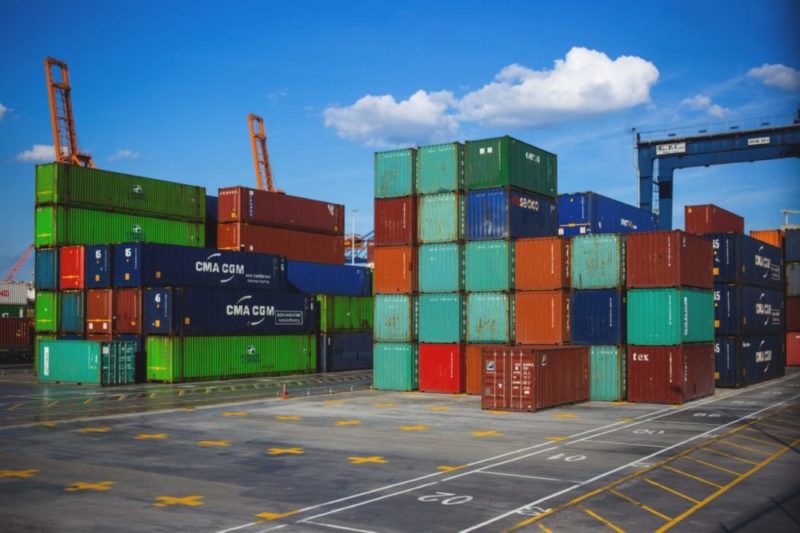
9. Shipping
The USPS will accept firearms for delivery to certain countries, including Canada. Click here to check on shipping restrictions that apply to shipments to your customer’s country.
If USPS won’t accept your shipment, you can check with the big-name couriers. Historically, they were reluctant to carry firearms, but since the change in export regulations earlier in 2020, there have been reports — in some cases — past policies may be undergoing changes. As a last resort, you can use a commercial freight forwarder to arrange the shipment for you. This will work but is considerably more expensive than USPS or private couriers.
Use the table above for the ECCN (export classification) and Schedule B number. If the shipping label asks for the “HS Code,” use the first six digits of the Schedule B number.
10. Duties, Taxes & Other Import Charges
Duties, taxes and other import charges imposed by the destination country on the shipment are for your customer to address. They’ll be collected by the customer’s government after the goods arrive in the destination country.
11. Bound Book
Important! Don’t forget to record the disposition of the firearm of the firearm in your bound book. Record it as an export sale and enter the name and address of the customer. If you were required to obtain an export license, attach a copy to the record in your bound book.
12. Records
Keep a copy of every document (or record) mentioned or referred to in this article for at least 5 years from the date you ship. Also, keep a copy of the delivery receipt and purchase order. Save them together in one folder (except for the bound book).
Congratulations!
Congratulations! You’re an exporter. It’ll be easier the second time.
Jeff Grody is CEO of Automated Export Processing Inc., creator of EasyExport. He can be reached at jeff@easyexport.net.